
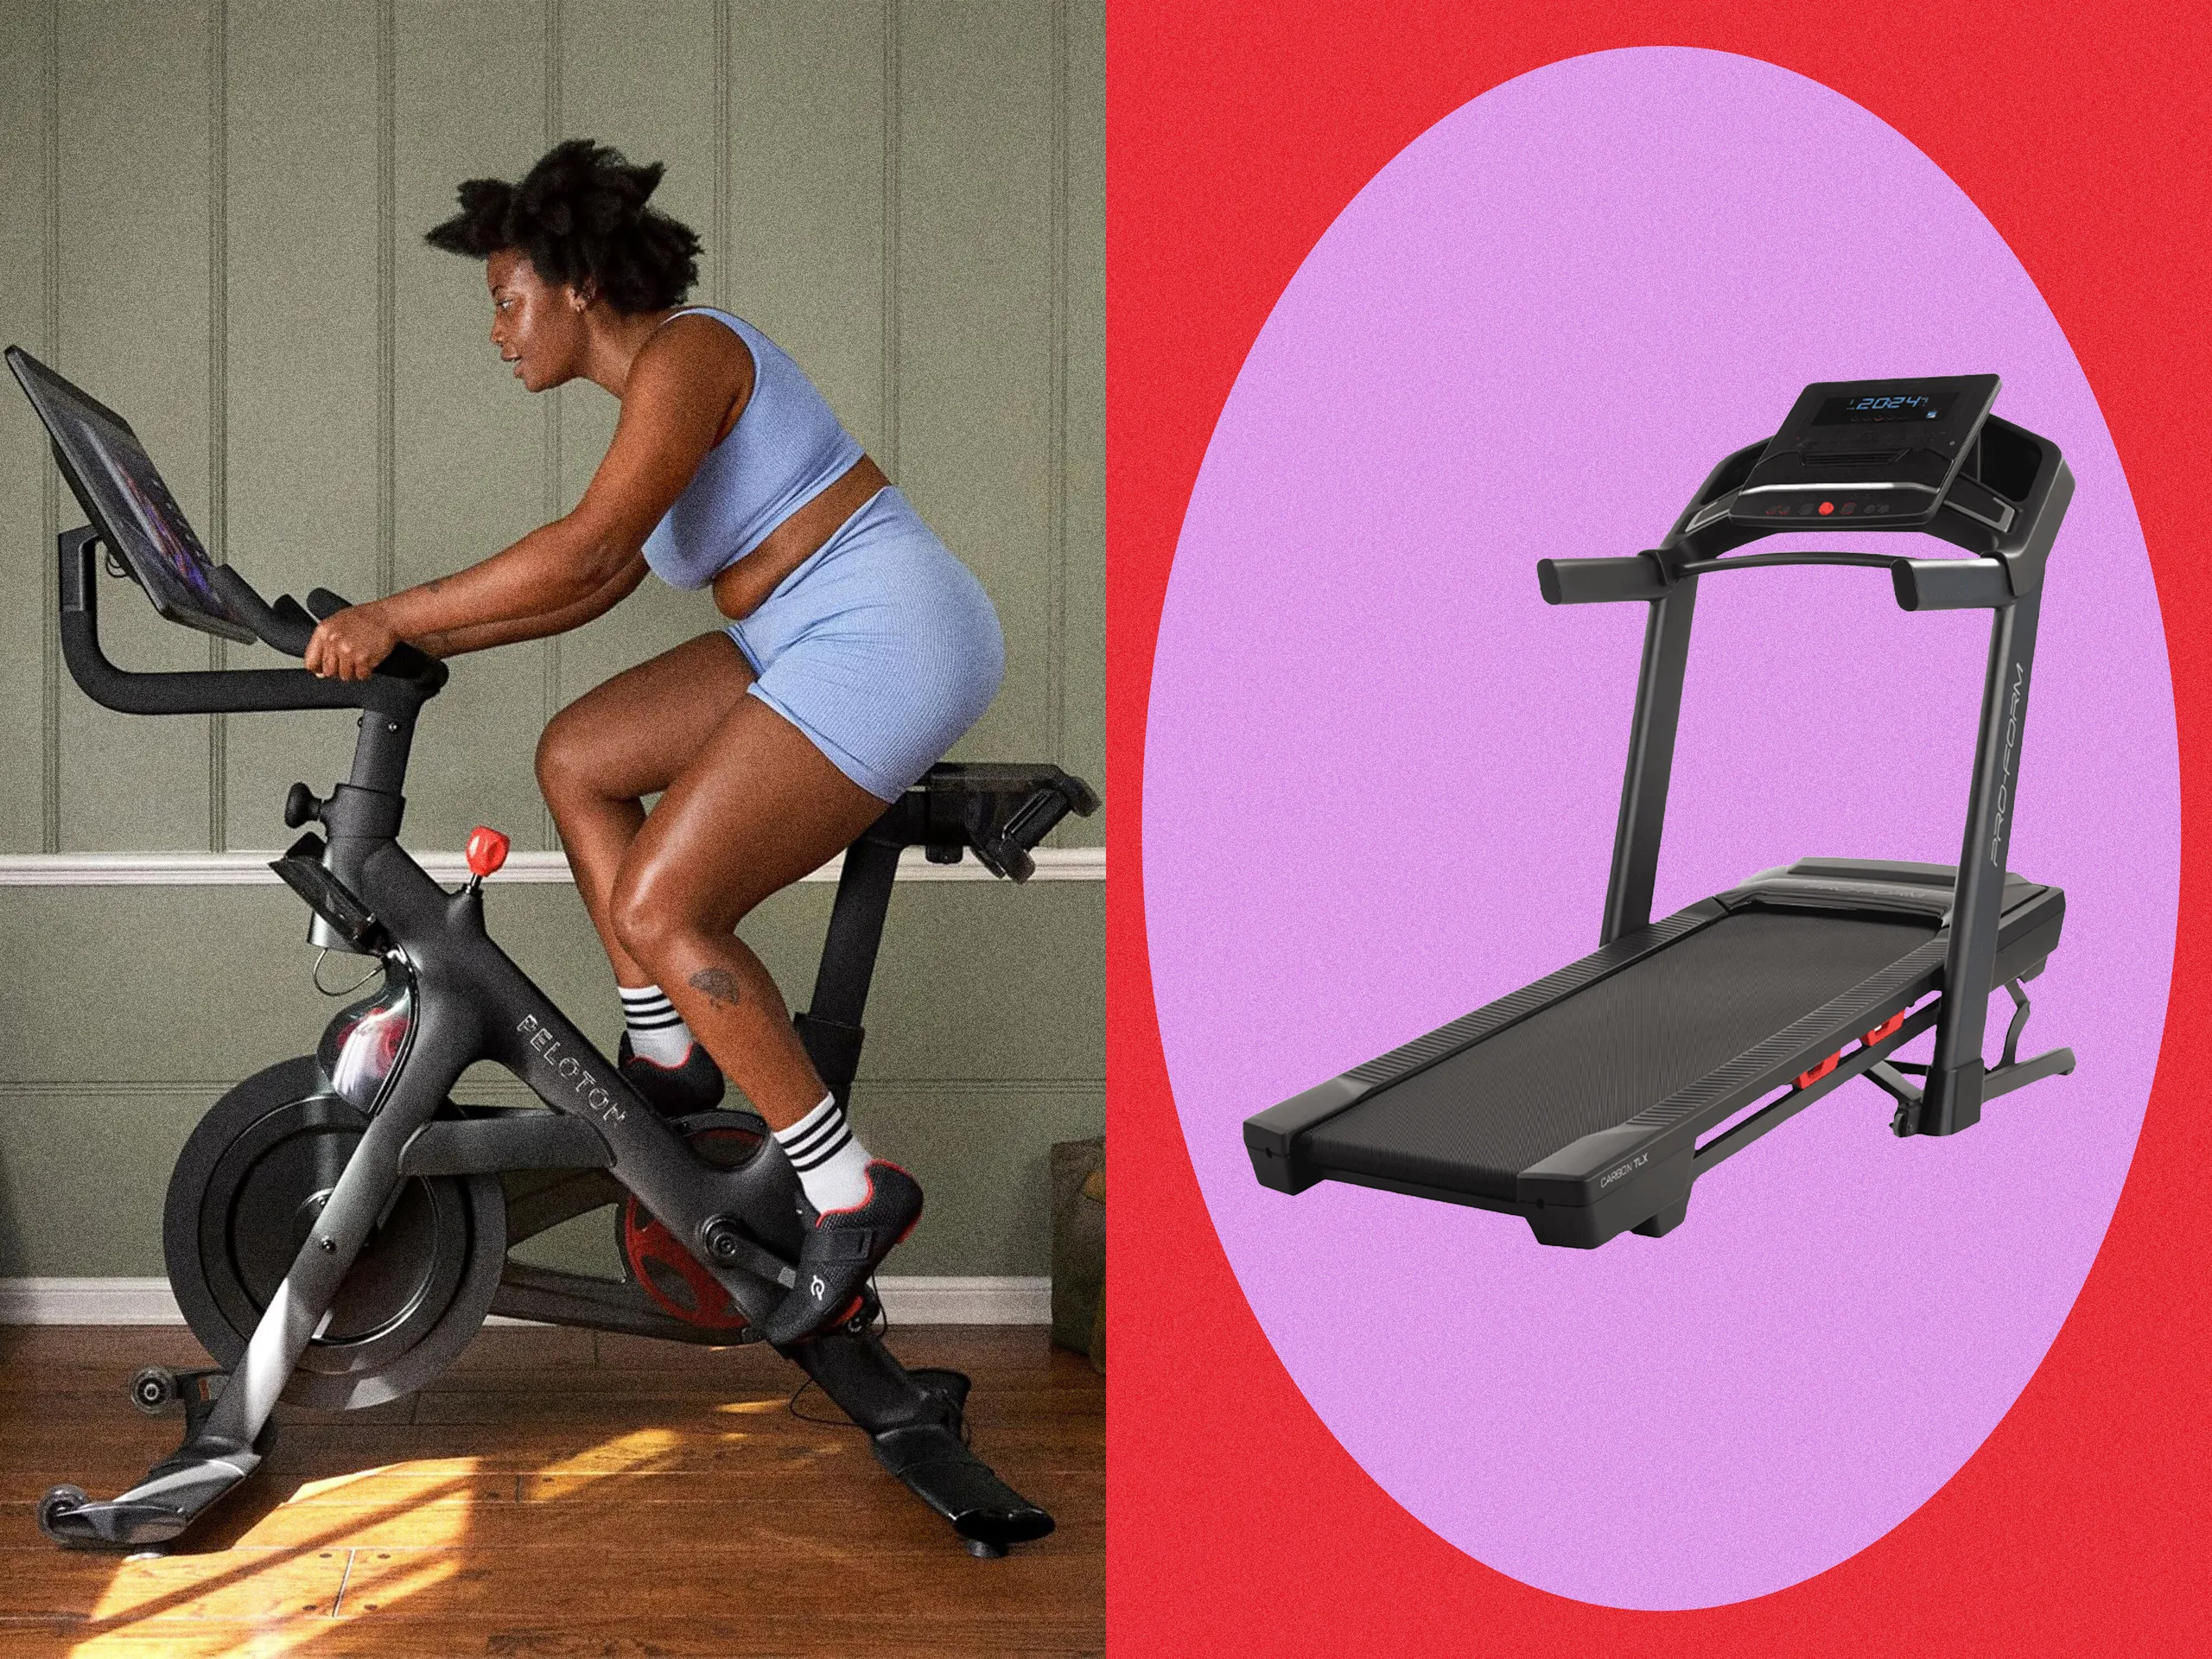
How to Measure Your Space for a Home Treadmill or Rowing Machine
The Critical Step Most Home Gym Owners Get Wrong: How to Measure Your Space for a Treadmill or Rowing Machine
You have researched the perfect machine. You know the motor horsepower, the incline range, and the warranty details. Yet, you still face one final, critical hurdle that determines success or failure: will it actually fit in your home? A surprising number of home fitness investments become expensive, demotivating clutter because of a simple measurement error. The space around the machine matters just as much as the machine’s own dimensions. This guide provides a professional, step-by-step methodology to measure your space for a home treadmill or rowing machine with absolute precision. You will learn to account for operational clearance, user safety zones, structural considerations, and practical pathways. This process ensures your chosen equipment integrates seamlessly into your living environment, transforming it from a potential obstacle into a sustainable fitness asset.
Accurate spatial planning requires more than a tape measure. You must understand the machine’s operational envelope—the space it occupies while in use—and the human movement zone required for safe, effective exercise. For a treadmill, this includes the belt length for your stride and overhead space for arm swing. For a rower, it encompasses the full slide rail length and the arc of the handle. This guide will walk you through a four-phase assessment: evaluating your candidate room, measuring for the machine’s footprint and clearance, analyzing structural and safety factors, and finally, creating a verified installation plan. By following this systematic approach, you eliminate the risk of a costly misfit and build a foundation for long-term consistency. For a broader context on selecting the right machine type before this spatial analysis, consult our comprehensive Home Cardio Equipment: The Complete Buyer's Guide & Comparison.
Phase 1: Room Selection and Pre-Measurement Assessment
Before you measure for a specific machine, you must assess the suitability of the room itself. The correct room choice sets the stage for all subsequent measurements.
Identify and Evaluate Candidate Spaces
Typical candidate rooms include a spare bedroom, a section of a finished basement, a garage, or a dedicated corner of a living area. Each presents unique advantages and constraints. Basements and garages often offer abundant space and tolerate more noise but may have temperature and humidity concerns. Spare bedrooms provide climate control and privacy but may have tighter doorways and floor strength limitations. Living areas offer convenience but require greater attention to aesthetics and noise management.
Conduct a Macro-Level Room Audit
Begin with a broad audit. Clear the area of movable furniture and clutter to see the true blank canvas. Note the locations of all permanent fixtures: electrical outlets, light switches, HVAC vents, windows, and radiators. Your machine will need proximity to power and must not obstruct vents or access to windows. Observe the primary traffic flow through the room. Your equipment setup should not create a hazardous obstacle or force people to squeeze past a moving machine.
Document Architectural Constraints
Measure and document every architectural constraint. This includes:
Doorway Width and Height: Measure the narrowest point the machine must pass through to enter the room. This is often the doorway itself, but also consider interior hallways or turns. Record both width and height.
Staircase and Corner Clearance: If delivery involves stairs, measure the stairwell width, landing space, and any tight corners. Many professional delivery services will assess this, but your own measurements prevent surprises.
Ceiling Height: This is a critical and often overlooked dimension. For treadmills, you must account for your height plus a comfortable overhead margin for arm movement. A person who is 6 feet tall needs a ceiling significantly higher than 7 feet to avoid hand contact during vigorous running.
Analyze Flooring and Subfloor
The floor type dictates both protection needs and structural soundness. Solid concrete slabs (common in basements and garages) are ideal for heavy equipment. Wood-framed floors (standard in bedrooms and living rooms) require more careful analysis. You must identify the direction of the floor joists and, if possible, plan to place the machine perpendicular across multiple joists, not parallel between them, to distribute weight. For any non-concrete floor, consider a high-quality protective mat. This not only protects your flooring from scratches and sweat but also dampens vibration. Our guide on How to Soundproof Your Home Cardio Gym: Apartment & Condo Solutions covers flooring considerations in greater depth.
Phase 2: Measuring for Machine Footprint and Operational Clearance
With a room selected, you now shift focus to the precise spatial demands of the equipment. This phase separates basic fitting from optimal, safe installation.
Decoding Manufacturer Specifications
Product specifications list two key dimensions: Footprint and Folded Dimensions (if applicable).
Footprint (L x W): This is the static, floor-level space the machine occupies when assembled and ready for use. It is your absolute minimum starting point.
Folded Dimensions: Some treadmills and many rowing machines offer a foldable or upright storage design. Note the dimensions in both operational and stored positions.
The Critical Concept of Operational Clearance
The manufacturer’s footprint is a trap for the unwary. It does not account for the operational clearance—the additional space required for safe use. This is the non-negotiable buffer zone around the machine.
For Treadmills: You must add clearance at the front, back, and sides.
Rear Clearance: A minimum of 24 inches (2 feet) behind the treadmill is essential for safety. This space allows for a natural dismount if you lose balance or need to stop suddenly. It also provides access for maintenance.
Side Clearance: A minimum of 12 inches on each side is recommended. This allows for arm swing without striking a wall and provides space for a water bottle, fan, or television.
Front Clearance: At least 12-24 inches in front is advisable for visual comfort and access to the console.
For Rowing Machines: Clearance is needed at the front and back of the slide rail.
Rear Clearance: During the finish of the stroke, the seat moves to the very back of the rail. You need at least 12-18 inches behind the end of the rail to ensure the user’s back does not contact a wall.
Front Clearance: At the catch position, the user reaches forward. Allow a minimum of 24-36 inches in front of the foot pedals or stretcher for full, unconstrained reach with the handle. This is crucial for proper technique.
Creating Your “Total Use Zone” Calculation
This is your master formula:
Total Use Zone = Machine Footprint + Operational Clearance
Example for a treadmill with a 78″ L x 36″ W footprint:
Length: 78″ (machine) + 24″ (rear clearance) + 18″ (front clearance) = 120 inches total length (10 feet)
Width: 36″ (machine) + 12″ (left clearance) + 12″ (right clearance) = 60 inches total width (5 feet)
You now know you need a clear floor area of at least 10 feet by 5 feet for that treadmill to be used safely and comfortably.
Practical Mapping with a Mock-Up
Do not rely solely on numbers. Use painter’s tape, cardboard boxes, or a folded blanket to map the Total Use Zone directly on your floor. Walk around it. Simulate mounting and dismounting. This physical mock-up will instantly reveal conflicts with furniture, doors, or traffic patterns that numbers on paper may miss.
Phase 3: Structural, Safety, and Human Factor Analysis
A machine that fits physically must also fit structurally and within the context of human use. This phase addresses weight, power, and ergonomics.
Weight Capacity and Floor Loading
Check two weight ratings:
1. User Weight Capacity: The maximum weight the machine is designed to support.
2. Machine Weight: The actual weight of the equipment. A commercial-grade treadmill can weigh over 300 pounds.
Add these figures for the total static load. For wood-framed floors, if this total approaches or exceeds 400 pounds concentrated in a small area, it is prudent to consult a building professional to verify your floor’s load capacity. Placing the machine near a load-bearing wall is generally safer than in the center of a room span.
Electrical and Ventilation Requirements
Treadmills, in particular, have specific electrical needs.
Outlet Dedication: The machine should be plugged directly into a wall outlet. Avoid extension cords or power strips, which can overheat. Ensure the outlet is grounded (3-prong).
Circuit Dedication: Ideally, the treadmill should be on its own dedicated 15- or 20-amp circuit. If the circuit also powers lights, a television, and other appliances, you risk tripping a breaker mid-workout.
Airflow: Both treadmills and rowers generate user heat. Ensure the location has adequate airflow or space for a fan. Avoid placing equipment directly in front of a heating vent or in a completely sealed, unventilated closet.
Human Movement and Spatial Ergonomics
Consider the movement of the person using the machine.
Overhead Clearance Revisited: For a treadmill, raise your hands above your head as if celebrating a run finish. This is your required overhead space. For a rower, the movement is horizontal, but a tall user may lean back significantly.
Sightlines and Entertainment: If you plan to watch a screen, measure the sightline from the machine’s console to the intended screen location. Ensure it is comfortable without neck strain. Consider cable management or wireless solutions for a clean setup.
Storage of Accessories: Allocate space for mats, weights, towels, and cleaning supplies. A disorganized space becomes a deterrent to use. For inspiration on organizing a compact area, see How to Set Up a Small Space Cardio Corner in Your Apartment.
Phase 4: Tool-Assisted Planning and Final Verification
The final phase leverages tools to create a definitive plan and includes a crucial pre-purchase verification step.
Utilizing Digital Planning Tools
Modern tools remove guesswork.
Augmented Reality (AR) Apps: Applications like the IKEA Place app or specific retailer apps often allow you to view a 3D model of a product in your actual room through your smartphone camera. This provides an unparalleled sense of scale and proportion.
Floor Planning Software: Simple, free online floor planners (like Planner 5D or the RoomSketcher app) let you create a to-scale model of your room and drop in equipment models using your measured dimensions.
Creating a Scale Drawing
For a low-tech, high-clarity solution, create a simple scale drawing on graph paper. Let one square equal six inches or one foot. Draw your room’s perimeter, mark fixed features (doors, windows, outlets), and then cut out a scaled paper template of your machine’s Total Use Zone. Move this template around the drawing to test different layouts and identify the optimal placement.
The Pre-Purchase Verification Checklist
Before you click “buy,” run through this final checklist:
– [ ] Total Use Zone fits within room with mock-up confirmed.
– [ ] 24+ inches of rear clearance for treadmill/rower is unobstructed.
– [ ] Doorways and pathways for delivery are measured and clear.
– [ ] Required ceiling height is met with overhead arm movement test.
– [ ] Dedicated electrical outlet is available within machine cord reach.
– [ ] Floor type is identified and appropriate matting is selected.
– [ ] Weight load is within reasonable limits for floor structure.
– [ ] Placement does not block HVAC vents, doors, or emergency egress.
Communicating with Retailers and Delivery Services
Use your precise measurements when speaking with retailers. Ask: “The narrowest doorway on the delivery path is 29 inches wide. Can your crew navigate this with Model XYZ?” Provide your ceiling height measurement. A reputable seller will confirm feasibility or suggest an alternative. This due diligence prevents the nightmare of a delivery truck arriving with a machine that cannot enter your home.
Comparison of Spatial Requirements: Treadmill vs. Rowing Machine
The following table summarizes the key spatial differences between these two popular cardio equipment types. This can aid your initial room selection if you are still deciding between modalities. For a detailed comparison of their fitness profiles, read Treadmill vs. Rowing Machine: Which Burns More Calories in 2024?.
| Spatial Consideration | Treadmill | Rowing Machine |
|---|---|---|
| Primary Clearance Need | Rear (safe dismount) & Overhead | Front (full reach) & Rear (lean-back) |
| Typical Total Length (with clearance) | 9 – 12 feet | 8 – 10 feet |
| Typical Total Width (with clearance) | 4 – 6 feet | 3 – 4 feet |
| Folding/Storage Efficiency | Often folds vertically; footprint reduces but height increases. | Many fold in half or stand upright; stored footprint can be very small. |
| Critical Human Factor | User's height + overhead arm swing. | User's leg length (determines slide rail need) and arm reach. |
| Floor Impact/Vibration | High; requires stable, level surface and often a dampening mat. | Moderate; a smooth, flat surface is key to prevent rocking. |
| Ideal Room Type | Rooms with higher ceilings (8.5 ft+), robust floors. | Rooms with longer clear wall spans, adaptable for storage. |
Implementing Your Plan: Delivery Day and Beyond
When delivery day arrives, your preparation pays off. Guide the delivery team using your plan. Once the machine is positioned, do a final safety check within the Total Use Zone before first use. Remember, the work does not end with installation. Proper maintenance is key to longevity and safety. Establish a routine for cleaning the machine and inspecting for wear. Our dedicated guide, How to Maintain Your Home Treadmill or Exercise Bike: A Simple Guide, provides essential protocols to protect your investment.
Your home gym is a long-term commitment to your health. The time invested in precise spatial planning is negligible compared to the years of use you will gain from a correctly installed machine. It transforms the equipment from a space-consuming object into an intuitive, safe, and inviting part of your daily routine. By following this measured approach, you build more than a gym corner; you build a sustainable foundation for achieving your fitness objectives. For a holistic view of how this equipment fits into a balanced fitness regimen, explore How to Create a Weekly HIIT & Cardio Schedule for Your Fitness Level. Return to the Home Cardio Equipment: The Complete Buyer's Guide & Comparison to finalize your machine selection with confidence, knowing you have mastered the spatial challenge.
Frequently Asked Questions (FAQ)
How much space do I really need behind a treadmill?
You need an absolute minimum of 24 inches (two feet) of clear, unobstructed space behind the treadmill. This zone is critical for emergency dismounts, safe mounting and dismounting during normal use, and for providing access to the rear of the machine for maintenance or cleaning. More space is always better for comfort and safety.
Can I put a treadmill on the second floor of my house?
Yes, you can place a treadmill on a second-floor wood-framed floor, but it requires careful consideration. The combined weight of the machine and user must be accounted for. Position the treadmill perpendicular to the floor joists and near a load-bearing wall to distribute weight. Using a high-quality equipment mat can dampen vibration. If you have concerns about heavy weight concentration, consulting a structural engineer is advisable.
My rower fits lengthwise, but when I row, my hands hit the wall in front. What did I miss?
You measured the machine’s footprint but not the operational clearance. The “catch” position in rowing requires you to reach forward beyond the foot stretcher. You must add at least 24 to 36 inches of clear space in front of the rower’s front feet to accommodate your full reach and proper body swing, preventing contact and allowing for correct technique.
Do I need a special type of electrical outlet for a home treadmill?
Most home treadmills require a standard, grounded 120V, 15-amp electrical outlet (NEMA 5-15R). The critical requirement is that the treadmill should be the only major appliance on that circuit. Plugging it into a dedicated outlet prevents overloading a circuit shared with lights, televisions, or other devices, which could trip the breaker during use.
What is the best tool to visually see if a machine will fit in my room before buying?
Augmented Reality (AR) apps offer the most effective visual preview. Many major fitness equipment retailers and general furniture apps (like the IKEA Place app) allow you to select a machine model and project a life-size 3D image into your room through your smartphone camera. This allows you to walk around the virtual machine and assess scale and clearance interactively.
References
– The American Council on Exercise (ACE) – Setting Up a Home Gym
– Consumer Reports – How to Choose a Treadmill
– National Association of Home Builders (NAHB) – Floor Load Capacity Guidelines
– U.S. Consumer Product Safety Commission (CPSC) – Exercise Equipment Safety